Introduction
Creating a contact form in WordPress is a straightforward process that enables site visitors to communicate with you efficiently. This form can be an essential tool for receiving inquiries, feedback, and other client communications. The following steps outline how to set up a contact form using a popular WordPress plugin.
Step 1: Choose a Contact Form Plugin
Several plugins are available for creating contact forms in WordPress. Among these, Contact Form 7, WPForms, and Gravity Forms are widely recognized for their ease of use and functionality. For this guide, we’ll focus on Contact Form 7 due to its broad adoption and straightforward interface.
Step 2: Install and Activate the Plugin
To begin the installation process, log in to your WordPress Admin Dashboard. Once inside, look to the left-hand sidebar menu and click on Plugins > Add New. Use the search function to locate ‘Contact Form 7’. When the plugin appears, click Install Now. After a successful installation, the button will change to Activate. Click it to activate the plugin for use on your website.
Step 3: Create a New Contact Form
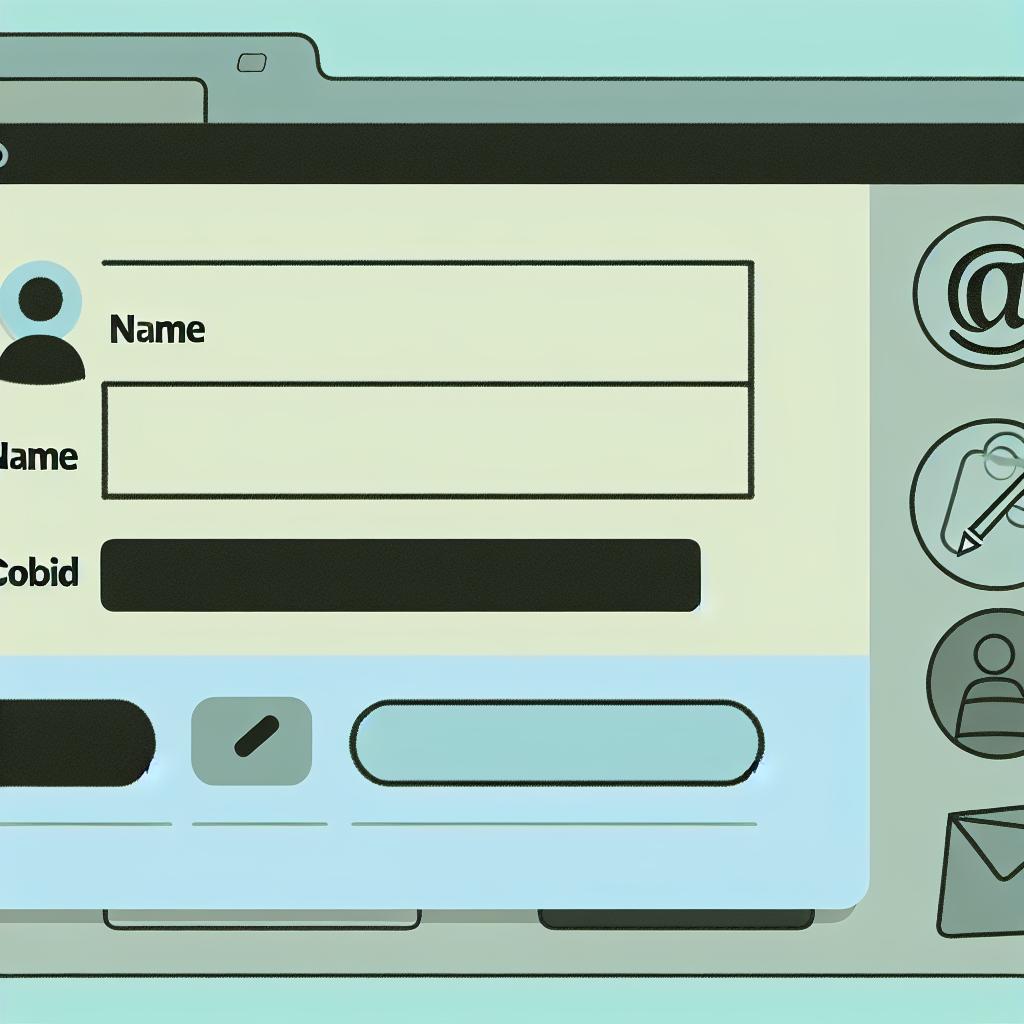
Once the plugin is activated, a new option, labeled Contact, will appear in your dashboard’s sidebar. Click this to access the contact form management area. Then, select Add New to begin crafting your form.
Configuring the Form
Upon accessing the form editor, you will notice that a default template is already set up. This template includes standard fields such as name, email, subject, and message. This basic layout serves as the starting point for customization according to your needs.
In the form editor, you have the ability to tailor these fields or add new ones to suit your specific requirements. For instance, if your organization needs to collect additional data such as a phone number, you can easily add this field using the available tools.
Example:
To add a field for ‘Phone Number’:
– In the form editor, click the tag generator button to create a new input field.
– Select the ‘Tel’ tag because it is meant for telephone numbers.
– Follow the instructions provided to insert this new tag into your form.
– Add a user-friendly label above the field, such as “Phone Number”, to guide your site visitors in filling out the form correctly.
Step 4: Email Settings
The next step involves configuring email settings, which is crucial for ensuring inquiries are sent to the correct email address. Navigate to the Mail tab within the contact form editor. Here, you’ll specify the email address where you wish to receive messages. You can further customize the email template, including setting the subject line and message body format.
It is important to pay close attention to the From and To fields. Correct configuration of these fields ensures that any messages submitted via the contact form are delivered to the correct inbox. This accurate setup prevents potential miscommunications or missed inquiries.
Step 5: Add the Form to Your Website
Once your form is configured and email settings are in place, the next task is to embed the form on your website. Contact Form 7 generates a unique shortcode for each form, which is displayed at the top of the form settings page. This shortcode is what you will use to insert the form into a page or post.
To add the form to your site, navigate to the WordPress editor of the page or post where you’d like the form to appear. Simply paste the copied shortcode into the content editor at the desired location. Updating the page will then display the contact form on your site, allowing visitors to submit information directly to you.
Step 6: Test the Form
Testing the contact form is a vital part of the setup process. Navigate to the page where you implemented the form and fill it out as a test submission. Look for confirmation that the form has been sent successfully. Then, check the recipient inbox you designated in the email settings to ensure the email notification arrived.
During testing, verify that all functional aspects of the form work as intended. This includes the proper operation of all fields and the success of automated notifications. Testing helps in identifying and rectifying any issues before actual site users begin utilizing the form.
Step 7: Enhancing the Form with Additional Features
Once the basic contact form is working properly, you might want to enhance its functionality. This could include integrating CAPTCHA for spam prevention, adding custom styling, or configuring autoresponder messages that acknowledge receipt of messages.
Start by exploring additional settings offered by Contact Form 7 or consider installing complementary plugins. These can provide advanced features that align with your organizational needs and ensure that your contact form maintains professional standards.
Conclusion
Utilizing a plugin like Contact Form 7 offers a practical way to add a contact form to your WordPress site without needing coding skills. By following these outlined steps, you can ensure the seamless installation and management of contact forms, which essentially enhances communication between you and your site visitors. For more details on using Contact Form 7, refer to the plugin’s official documentation.