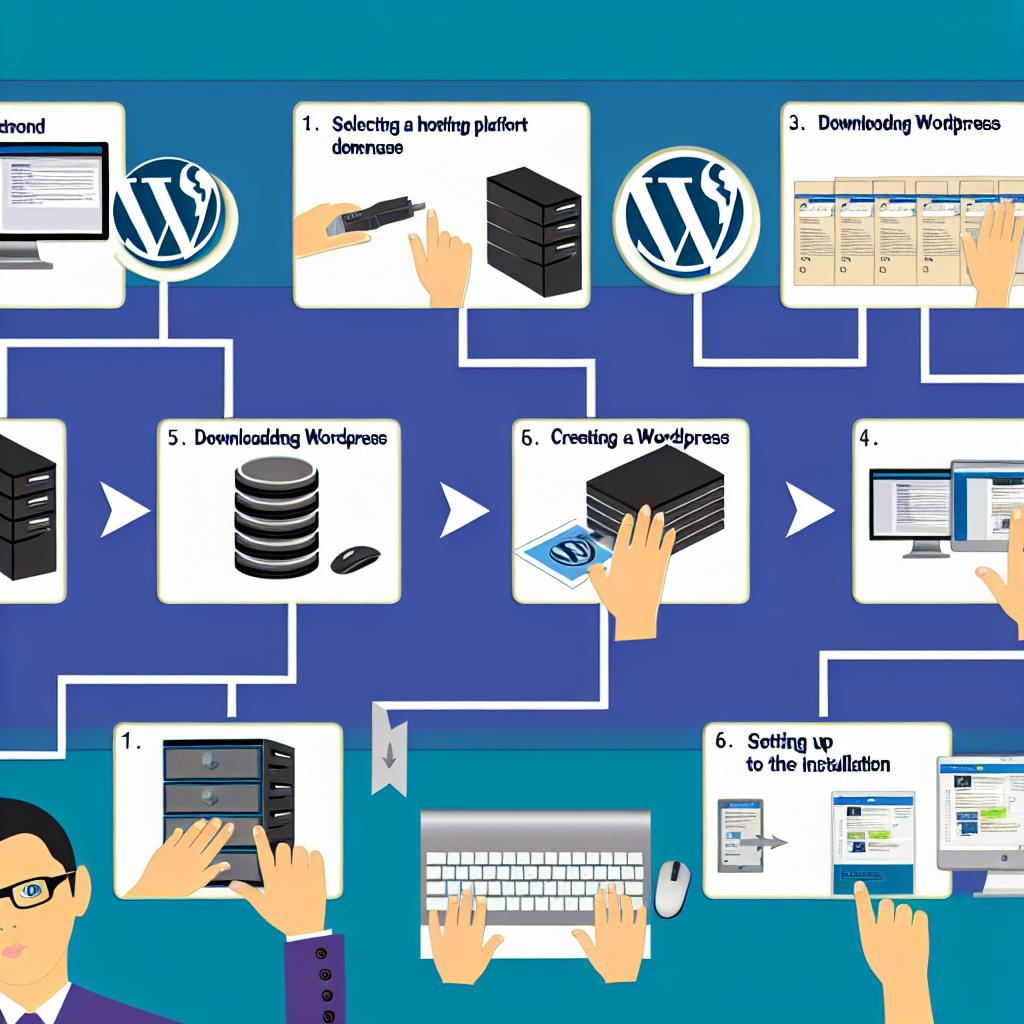
Introduction
Installing WordPress is a straightforward process that empowers you to create a powerful and flexible website. This guide outlines the necessary steps to install WordPress on a web server, suitable for both beginners and experienced users.
Preparation
Before beginning the installation, it’s essential to ensure you have the following elements ready:
Web Hosting Service: Choosing a reliable hosting provider is crucial. Ensure that your host supports both PHP and MySQL, as these are necessary for WordPress to function correctly. Reliable hosting providers not only improve your website’s speed and uptime, but they also offer robust security features, which are important for any website.
Domain Name: Securing a domain name is like giving your website an address on the internet. Take some time to select a domain name that is easy to remember and reflects the purpose or theme of your website.
FTP Client: An FTP (File Transfer Protocol) client, such as FileZilla, allows you to upload files to your server. This tool is essential for transferring WordPress files from your computer to the hosting server.
Database Details: Obtain details such as your database name, username, password, and host information from your hosting provider. These details are critical for connecting WordPress to your database.
Step 1: Download WordPress
The first step in setting up your WordPress site is downloading the software. Visit the official WordPress website to download the latest version. After downloading, extract the archived files to a folder on your computer. It’s crucial to have the latest version, as this ensures you have the newest features and security updates.
Step 2: Upload WordPress Files
Next, use your FTP client to upload the WordPress files to your web server. Connect to your server using the FTP client, then navigate to the folder where you want WordPress to be installed. This is typically the root directory of your domain (often designated as public_html or www). Transfer all the files from the extracted WordPress folder on your computer to your server. Ensuring all files are uploaded correctly is vital for a seamless installation process.
Step 3: Create a Database
To store your website’s content, you need a MySQL database. Log into your web hosting control panel—such as cPanel—and create a new database. Each hosting provider may have slightly different interfaces, so refer to your host’s documentation if necessary. Along with creating the database, you also need to create a MySQL user. Assign this user to the database and give it all privileges. This user will allow WordPress to interact with the database to serve your website content.
Step 4: Configure wp-config.php
This step involves a critical configuration file in WordPress. In the WordPress directory on your server, locate the file named wp-config-sample.php. Rename this file to wp-config.php. Open it in a text editor and enter your database details:
“`php
// ** MySQL settings ** //
define(‘DB_NAME’, ‘your_database_name’);
define(‘DB_USER’, ‘your_username’);
define(‘DB_PASSWORD’, ‘your_password’);
define(‘DB_HOST’, ‘localhost’);
“`
Update the placeholders (your_database_name, your_username, and your_password) with your actual database details. Save your changes to the file after you update these settings.
Step 5: Run the Installation Script
To initiate the WordPress installation, open a web browser and access the installation script. In the browser’s address bar, enter your domain name followed by /wp-admin/install.php (e.g., http://yourdomain.com/wp-admin/install.php). This script will guide you through the setup process. You will be prompted to enter basic information about your site, including the site title, username, password, and email address. Be sure to keep your username and password secure; these credentials are your key to the WordPress dashboard.
Step 6: Complete Installation
Upon completing the installation script, you’ll receive a confirmation message indicating that WordPress has been successfully installed. You can now access your WordPress dashboard—a crucial component of managing your website. Visit http://yourdomain.com/wp-admin and use the username and password set up during installation to log in. From the dashboard, you can customize your site’s appearance, install plugins, create pages and posts, and manage your site’s content.
Conclusion
The process of installing WordPress involves several key stages: downloading the software, uploading it to your web server, configuring your database, and running the installation script. When followed correctly, these steps enable you to set up your WordPress site efficiently, allowing you to focus on creating content and customizing your website to fit your needs. For additional guidance or troubleshooting tips, it’s beneficial to visit the WordPress Support Forum, where you can find an extensive array of resources and a community of knowledgeable users.
